Work with us


The Voidspire Raid Guide: All 6 Bosses, Loot and Mechanics for WoW Midnight
10 min read
Voidspire Raid Overview
The Voidspire is the largest raid in WoW Midnight Season 1 and the one most players will spend the majority of their progression time in. It is a six boss instance set inside a corrupted void elf structure in the Voidstorm zone. The layout is linear, with each encounter escalating in coordination demands as you ascend the spire. Early bosses test spatial awareness and add management. Later bosses demand tight cooldown planning, balanced DPS distribution and precise positioning under heavy raid damage.
The raid supports Story Mode, Raid Finder, Normal, Heroic and Mythic difficulties for level 90 characters. Raid Finder requires a minimum ilvl of 220.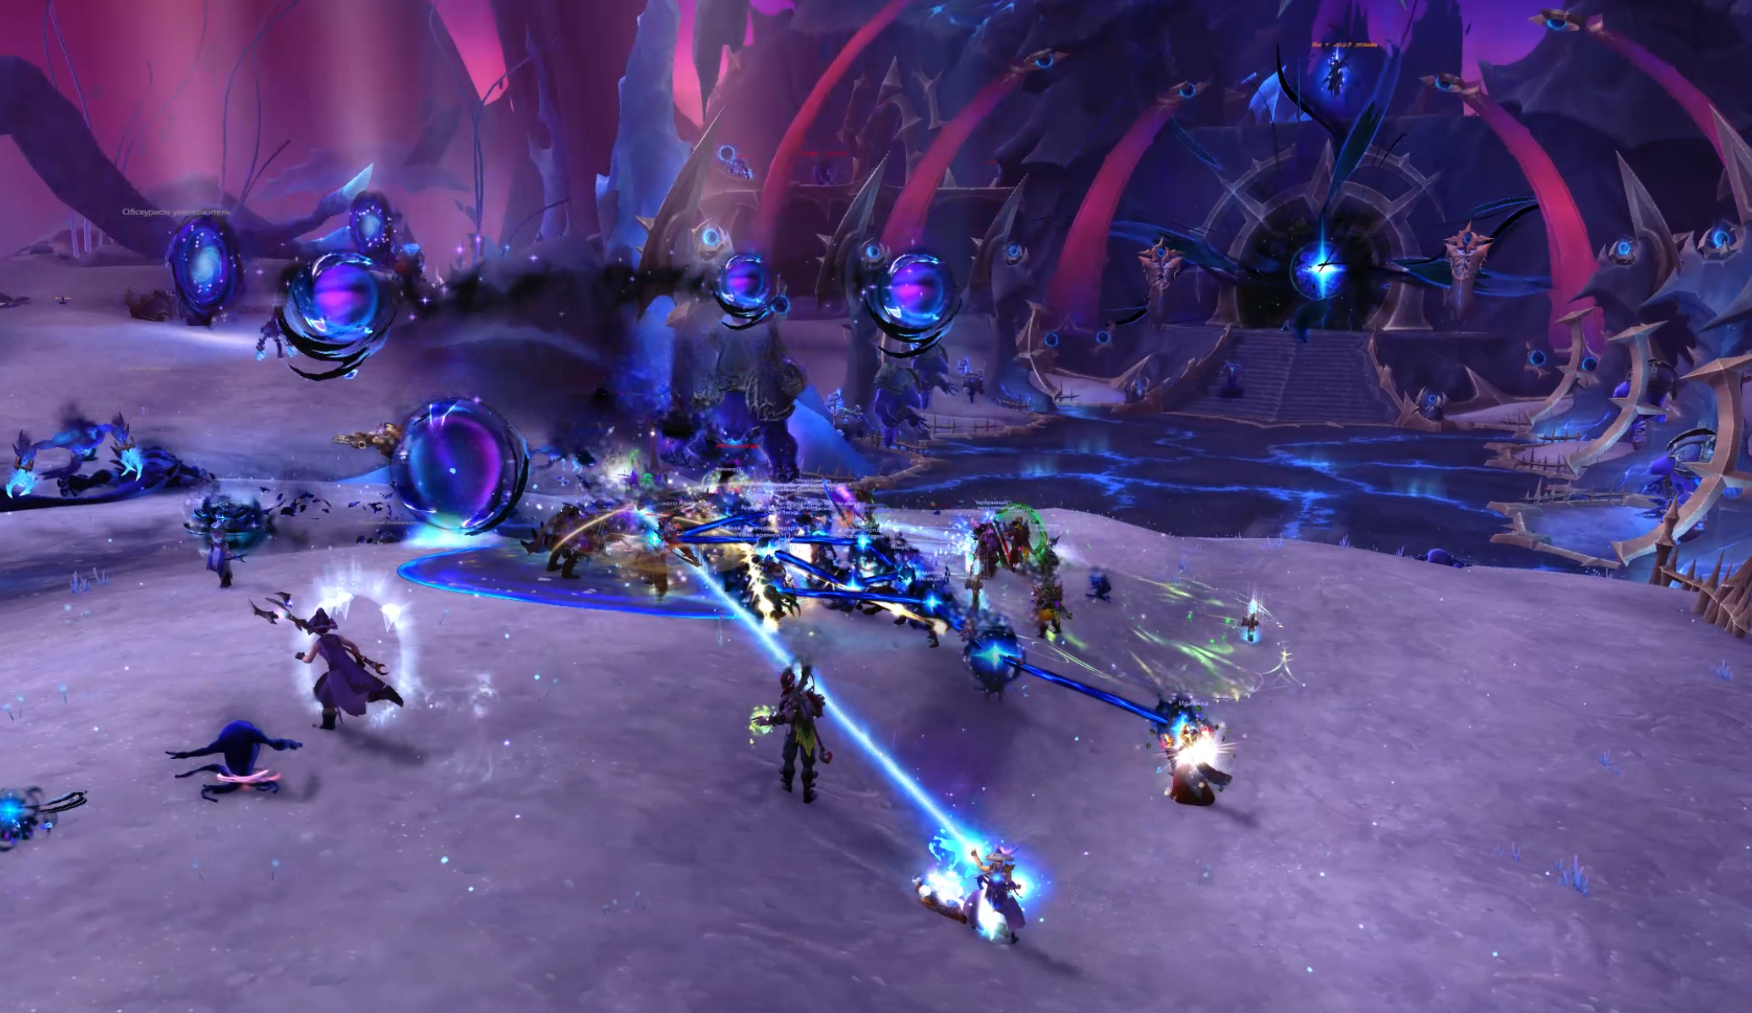
Voidspire Key Takeaways
- The Voidspire is a 6 boss raid in Voidstorm, the main raid of WoW Midnight Season 1
- Located at /way #2405 45.5 64.4 in the central Voidstorm structure
- Bosses in order: Imperator Averzian, Vorasius, Fallen King Salhadaar, Vaelgor & Ezzorak, Lightblinded Vanguard, Crown of the Cosmos
- Release schedule: Normal and Heroic on March 17, Mythic on March 24, Raid Finder Wing 3 on March 31
- Tier set tokens drop from bosses 2 through 5. The final boss does not drop a tier token
- Loot scales from 233 ilvl in Raid Finder up to 282 ilvl on the Mythic final boss
- The Cosmic Ritual Stone toy drops from Fallen King Salhadaar (boss 3)
- Standard comp: 2 tanks, 4 healers, 14 DPS. Every fight rewards positioning discipline over raw damage
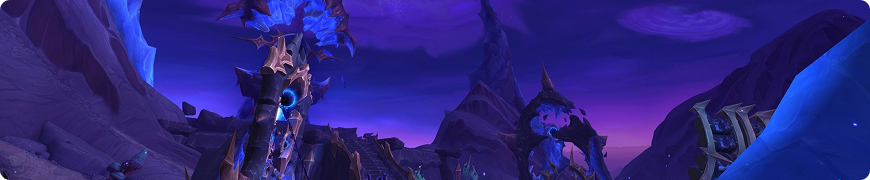
Voidspire Location and Entrance
The Voidspire entrance is located within the central structure of the Voidstorm zone at /way #2405 45.5 64.4. You can reach Voidstorm through the Rootway travel system or via portals in Silvermoon City. The entrance is at the base of the spire and is clearly marked. The surrounding terrain is heavily corrupted by Void energy so you will not miss it.
Voidspire Release Schedule
- Week 1 (March 17): Normal, Heroic, Raid Finder Wing 1 (Bosses 1 and 2)
- Week 2 (March 24): Mythic, Story Mode, Raid Finder Wing 2 (Bosses 3 and 4)
- Week 3 (March 31): Raid Finder Wing 3 (Bosses 5 and 6)
Mythic opens one week after the initial release, giving guilds time to clear Normal and Heroic, learn mechanics and gear up before progression begins. The Race to World First kicks off with Mythic opening.
Want to get ahead of the curve early in Season 1? Our Voidspire raid carry service handles Normal and Heroic clears with full loot. Check out our WoW raid boost options.
Voidspire Loot and Tier Sets
Loot in the Voidspire scales by both difficulty and boss position. Later bosses drop higher item level gear within the same difficulty tier.
Difficulty | Item Level Range | Crest Type |
Raid Finder | 233+ | Veteran Dawncrest |
Normal | 250+ | Champion Dawncrest |
Heroic | 263+ | Hero Dawncrest |
Mythic | 276 to 282 | Myth Dawncrest |
Tier set tokens drop from bosses 2 through 5: Vorasius, Fallen King Salhadaar, Vaelgor & Ezzorak and Lightblinded Vanguard. The final boss Crown of the Cosmos does not drop a tier token.
Tier tokens are separated by armor class. Helmet, shoulders, gloves and legs come from Voidspire. The chest slot tier token comes from The Dreamrift raid's boss Chimaerus. To complete a full 4 piece set you will need to clear both raids.
Note: No tier token drops from the final boss.
Notable drops:
- Cosmic Ritual Stone toy from Fallen King Salhadaar
- Profession recipes from various bosses
- Player housing decor items themed around the Voidspire
For Great Vault purposes, killing Voidspire bosses counts toward raid slot progress. You need 2, 4 and 6 boss kills across all Season 1 raids to unlock your three raid vault slots each week.
Voidspire Boss Guides
Boss 1: Imperator Averzian
Fight style: Heavy cleave with positioning puzzle | Lust timing: On pull
Imperator Averzian is a territory control encounter built around a 3x3 grid. Think of it as tic tac toe. The boss steadily claims tiles through Shadow's Advance, and if he ever claims three in a row (horizontal, vertical or diagonal) he triggers March of the Endless and wipes the raid.
Each cycle, three Abyssal Voidshapers spawn on three tiles. The raid gets two Umbral Collapse soaks to destroy two of the three Voidshapers. If done correctly, only one tile is claimed per wave. The raid leader needs to call which tiles to save based on what is already claimed, which means long term board planning matters as much as short term execution.
If the boss stands within 10 yards of a claimed tile, he gains Imperator's Glory: 75% increased damage dealt and 90% reduced damage taken. His adds also get buffed if they are near claimed tiles. Keep him away from portals at all times.
Adds priority: Kill the remaining Abyssal Voidshaper before it reaches 100 energy and transforms into an Obsidian Endwalker. Then handle Shadowguard Stalwarts (interrupt Pitch Bulwark or everything gets a massive absorb shield) and cleave down Voidmaws. Kill Voidmaws before they reach a portal at low health and heal to full.
Tanks: Swap at 8 to 10 stacks of Blackening Wounds. Adds move toward the tank with the highest stacks so position carefully.
Dodge: Void Fall (knockback plus swirlies) and Oblivion's Wrath (directional spikes).
Imperator Averzian Drops
Item | Slot |
Cloth Waist | |
Cloth Legs | |
Leather Head | |
Leather Feet | |
Mail Chest | |
Mail Feet | |
Plate Shoulders | |
Plate Wrists | |
Back | |
One Hand Mace | |
Gun | |
Shield | |
Trinket |
Boss 2: Vorasius
Fight style: Single target with add cleave phases | Lust timing: On pull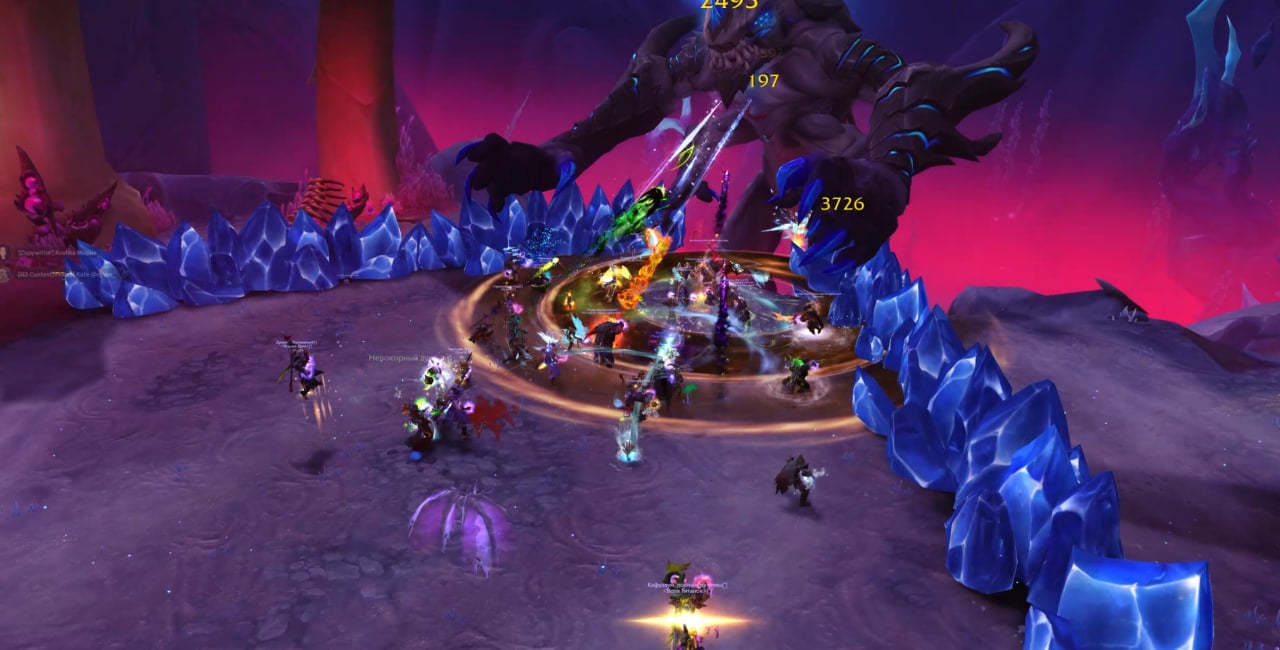
Vorasius is a straightforward damage and survival check built around a repeating loop. The fight cycles through the same pattern: Primordial Roar into Shadowclaw Slam, a tank mechanic that creates walls into Blistercreep spawns into Void Breath, a lethal laser. After each full cycle the raid gains a stack of Primordial Power, a DoT that ticks every 2 seconds and stacks for the rest of the fight. This is the soft enrage.
Tank plan: The first two Shadowclaw Slam hits apply Smashed, a 2 minute debuff that increases physical damage taken by 150%, and it stacks. Tank 1 deliberately takes the first two hits and then plays safe for 2 minutes. Tank 2 takes the boss and soaks every subsequent slam circle. Nobody else should soak slam circles unless called for.
Blistercreeps and walls: When Blistercreep adds spawn, split them by role. Melee drag theirs to the left wall, ranged to the right. Kill them on top of a wall so their death explosion damages it. You need two Blistercreep explosions per wall to break it. Do not stand in the explosion circle because it applies a 30 second debuff that increases shadow damage taken by 50%.
Void Breath: About 30 seconds after Blistercreeps spawn, the boss fires a lethal laser from one hand. Identify which hand and run the opposite direction. Breaking walls gives you space to dodge. If you only broke one wall, you are gambling on which hand the boss uses.
After the laser, reset to starting position and repeat.
Vorasius Drops
Item | Slot |
Cloth Wrists | |
Leather Wrists | |
Mail Helm | |
Plate Feet | |
Ring | |
Dagger | |
Polearm | |
Off Hand | |
Trinket | |
Tier Hands (Cloth) | |
Tier Hands (Leather) | |
Tier Hands (Mail) | |
Tier Hands (Plate) |
Boss 3: Fallen King Salhadaar
Fight style: Single target with orb cleave and burn windows | Lust timing: On pull or during Entropic Unraveling
Fallen King Salhadaar is a one phase fight on a repeating script that only gets harder if mechanics are handled sloppily. The wipe condition is simple: Void Convergence spawns two orbs that move toward the boss. If either orb reaches him, it triggers Void Infusion and the raid wipes.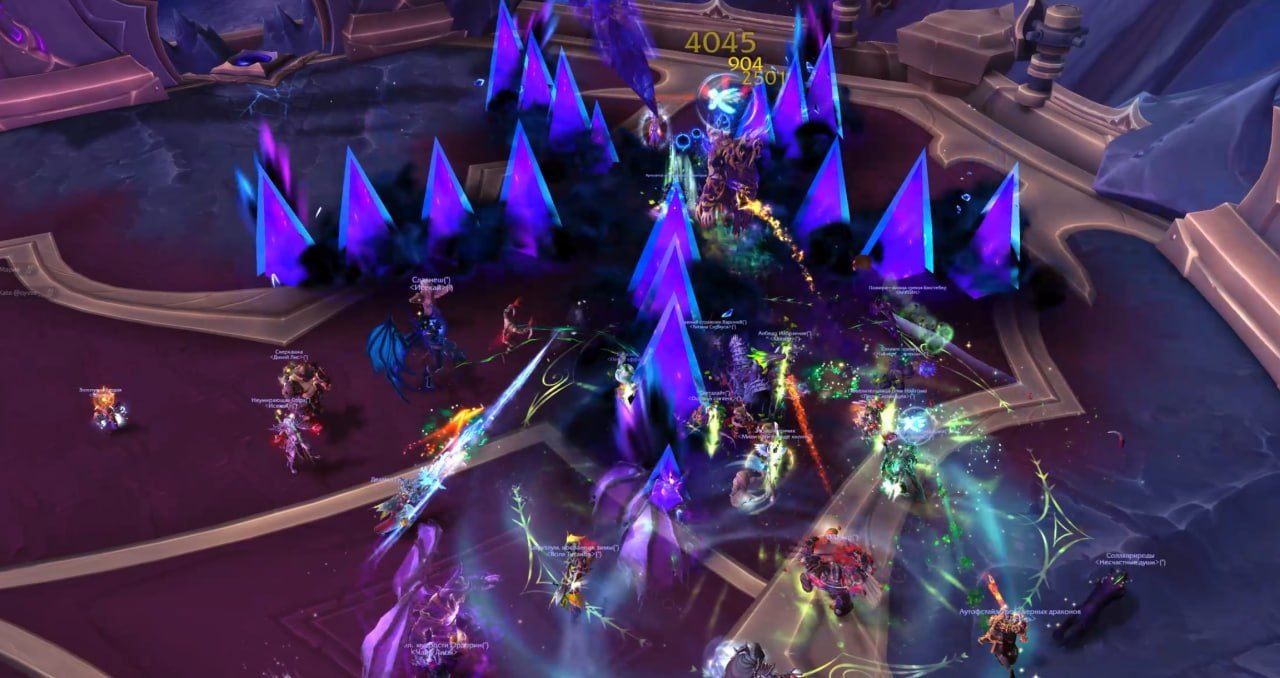
On pull, the boss marks 2 of 3 gates with lightning beams. That is where orbs will spawn. Tank the boss near a marked gate so you can cleave an orb while it approaches. Kill each orb separately because destroying an orb applies Dark Radiation to the entire raid for 8 seconds. Wait for the debuff to expire before killing the second orb or you stack unnecessary damage.
Shattering Twilight hits the tank then jumps to several players. When it expires, it shoots spikes in the direction your arrows are pointing. Point arrows away from people and never toward the boss.
Despotic Command puts circles on several players. After 10 seconds it drops a puddle and applies a healing absorb. Move out and drop puddles on the edge of the room.
Fractured Images spawn stationary copies that cast Shadow Fracture. Any CC stops the cast and kills the image. If a cast goes off, it leaves a permanent puddle. Keep the room clean.
Entropic Unraveling at 100 energy is the burn window. The boss is stationary for 20 seconds, takes 25% increased damage and sends spinning Umbral Beams clockwise around the room. Make sure you use offensive cooldowns during this phase. Heavy raid damage during this phase so healers need to be ready.
After Unraveling, the cycle repeats.
This boss drops the Cosmic Ritual Stone toy.
Fallen King Salhadaar Drops
Item | Slot |
Cloth Chest | |
Leather Waist | |
Mail Wrists | |
Plate Helm | |
Neck | |
Fist Weapon | |
Sword | |
Trinket | |
Trinket | |
Tier Shoulders (Cloth) | |
Tier Shoulders (Leather) | |
Tier Shoulders (Mail) | |
Tier Shoulders (Plate) | |
Toy |
Boss 4: Vaelgor & Ezzorak
Fight style: Dual boss with balance requirement | Lust timing: On pull
Vaelgor and Ezzorak are twin dragons and the core rule is straightforward: keep their health within 10% of each other at all times. If the gap exceeds 10%, Twilight Bond activates and they gain 100% increased damage until their health is balanced. If one dies, the other gains Twilight Fury and the pull is over.
Tank the dragons at least 15 yards apart but close enough for cleave. The raid should position between them and hit from the sides. Do not stand behind either dragon. Both use tail swipe abilities that knock back and apply bleeds.
Gloom is fired by Ezzorak in the direction he is facing. It travels to the edge of the arena and explodes into a puddle. The puddle shrinks based on how many players touch the Gloom on the way (max 5). Players who soak gain a 1 minute Diminish debuff. If they soak again while it is active, they take massive damage. Alternate soaking groups.
Void Howl puts a circle effect on players that spawns Voidorbs. These orbs cast Voidbolt at random players until killed. Stack up before they spawn so orbs group tightly, then AoE them down. Interrupt their casts in the meantime.
Nullbeam is a frontal channel on the tank that creates a Nullzone tethering all players. Everyone needs to snap their tether by running out of the blue circle. Each snap deals raid damage. The tank snaps last because the final snap hits hardest.
Dread Breath targets a random player with a cone. The targeted player runs away from the raid and stays close to the boss. Healers dispel the fear it applies.
Intermission: The dragons alternate between ground and air phases. During intermissions, Midnight Flames forces the raid into a tight shield window. Prepare for spike healing.
Vaelgor & Ezzorak Drops
Item | Slot |
Cloth Feet | |
Leather Hands | |
Mail Shoulders | |
Plate Waist | |
Back | |
Mace | |
Warglaive | |
Trinket | |
Trinket | |
Tier Legs (Cloth) | |
Tier Legs (Leather) | |
Tier Legs (Mail) | |
Tier Legs (Plate) |
Boss 5: Lightblinded Vanguard
Fight style: Triple boss council fight | Lust timing: On pull
Note: Bellamy and Senn initially bubble
The Lightblinded Vanguard is a three boss encounter against Commander Venel Lightblood, General Amias Bellamy and War Chaplain Senn. Each boss represents a different Paladin specialization and has an independent energy bar.
When a boss reaches full energy, it activates a unique aura affecting the entire raid. Venel's aura grants a damage buff. Bellamy's aura grants damage reduction. Senn's aura pacifies the raid, silencing and locking actions. Managing which aura activates and when is the key to controlling the fight.
All three bosses must die at roughly the same time. If one dies too early, the survivors gain Retribution, a stacking 5% damage increase that quickly becomes unhealable.
On pull: Bellamy and Senn bubble and are immune to damage. Open on Venel first. Venel uses Avenging Wrath during the opener, increasing his damage by 30% but also making him take 20% more damage for 20 seconds. Once all three are active, spread cleave evenly while leaning slightly harder into Bellamy because she has the highest health pool.
Keep the bosses separated so their consecration zones do not overlap. Overlapping zones make mechanics unmanageable and cause lethal damage combinations.
Interrupt priority and positioning discipline matter more here than raw DPS. Assign roles and interrupt rotations before the pull.
Lightblinded Vanguard Drops
Item | Slot |
Cloth Hands | |
Leather Shoulders | |
Mail Waist | |
Plate Legs | |
Ring | |
Sword | |
Two Hand Mace | |
Trinket | |
Tier Helm (Cloth) | |
Tier Helm (Leather) | |
Tier Helm (Mail) | |
Tier Helm (Plate) |
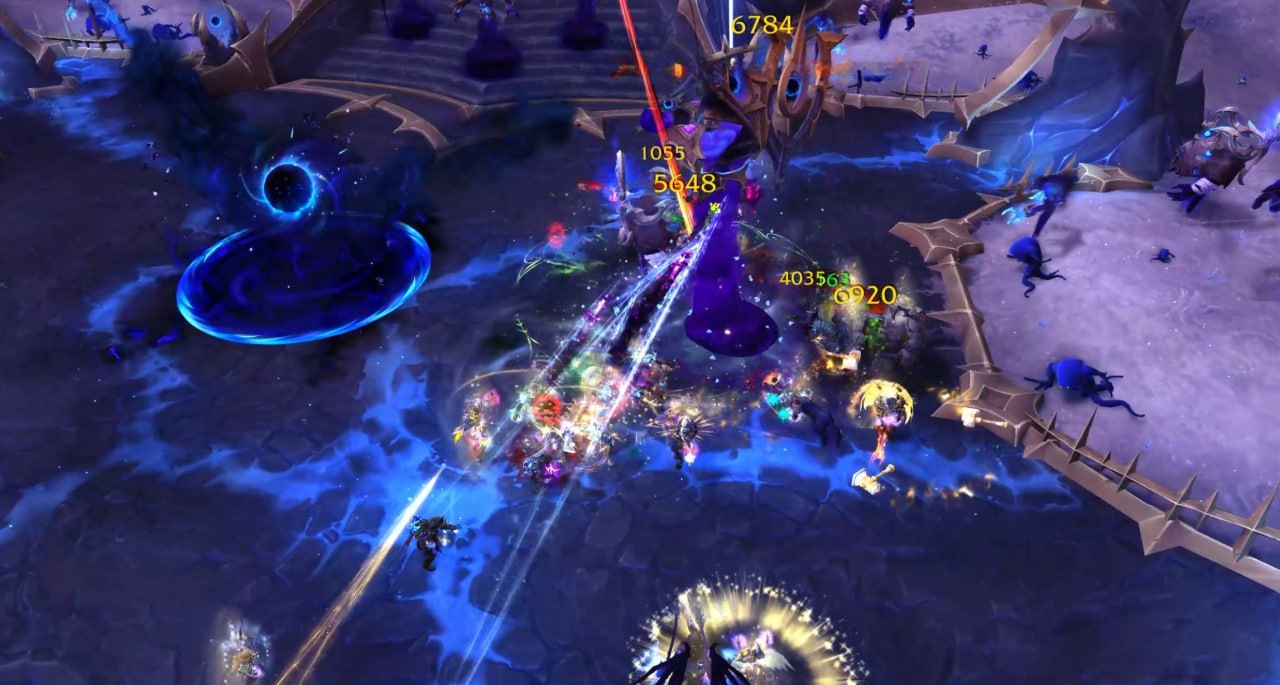
Boss 6: Crown of the Cosmos
Fight style: Multi phase finale with add control and burn phases | Lust timing: During the final burn phase
Crown of the Cosmos is the final encounter in the Voidspire. You fight Alleria Windrunner who has been consumed by the Void and now wants to kick everyone's behinds. This is a multi stage fight combining add control, heavy movement and escalating raid damage.
Phase 1 revolves around Undying Sentinels. Tank the sentinels immediately to prevent them from wiping the raid with Echoing Darkness. Alleria uses Silverstrike Arrow during this phase, which can clear Void effects from targets it strikes. This ability needs to be aimed deliberately because accidental cleaves apply healing reduction during overlap windows and frequently cause tank or healer deaths.
As sentinels die, the fight transitions through increasing Void corruption phases. The arena fills with cosmic anomalies and movement becomes progressively more restricted.
Final phase is a high intensity burn where Gravity Collapse overlaps with cosmic anomaly spawns simultaneously. On Mythic, this phase introduces sequential kick orders that require extremely tight interrupt coordination. One missed kick cascades into an unavoidable wipe.
This is the Ahead of the Curve: Crown of the Cosmos boss for Heroic and the Cutting Edge: Crown of the Cosmos boss for Mythic. Clean execution across all roles is required. Groups that can handle the phase 1 sentinel management and the phase 2 movement discipline will find the final burn demanding but doable.
Crown of the Cosmos Drops
Item | Slot |
Cloth Helm | |
Leather Feet | |
Leather Legs | |
Mail Hands | |
Plate Waist | |
Plate Chest | |
Neck | |
Mace | |
Sword | |
Bow | |
Trinket | |
Trinket |
Crown of the Cosmos is where guilds hit the wall. Whether you are pushing for Ahead of the Curve on Heroic or Cutting Edge on Mythic, our Voidspire raid carry team handles it clean. Check out our raid boost services.
General Voidspire Tips
For tanks: Control boss movement to preserve arena space. Many fights reward predictive positioning rather than reactive movement. Planned tank swaps are tied to specific mechanics, not just debuff stacks. Keep bosses away from adds, claimed tiles and overlapping zones.
For DPS: Target priority is essential. Delayed target swaps are a leading cause of wipes in this raid. Controlled damage (funnel and priority targets) is more valuable than raw AoE in most encounters. Save offensive cooldowns for designated burn windows.
For healers: Plan cooldown rotations around intermissions and soak events. The damage profile alternates between massive burst windows and constant rot damage. Coordinate with other healers before the pull so cooldowns are staggered.
General: Assign interrupts, soak groups and positioning before the pull. Most wipes in the Voidspire are mechanical rather than numerical. Consistency matters more than parsing.
Voidspire FAQ
Where is the Voidspire raid entrance?
The Voidspire entrance is in the Voidstorm zone at /way #2405 45.5 64.4. You can reach it through the Rootway or via Silvermoon City portals. The entrance is at the base of the central spire structure.
How many bosses are in the Voidspire?
Six: Imperator Averzian, Vorasius, Fallen King Salhadaar, Vaelgor & Ezzorak, Lightblinded Vanguard and Crown of the Cosmos.
Which Voidspire bosses drop tier set tokens?
Bosses 2 through 5:Vorasius,Fallen King Salhadaar, Vaelgor & Ezzorak and Lightblinded Vanguard. The final boss does not drop a tier token.
What ilvl does Voidspire loot drop?
Loot starts at 233 in Raid Finder and scales up to 282 on the Mythic final boss. Later bosses within each difficulty drop slightly higher ilvl gear than earlier bosses.
When does Voidspire Mythic open?
Mythic difficulty opens March 24, 2026, one week after Normal and Heroic become available.
Who is the final boss of the Voidspire?
Crown of the Cosmos, a multi phase encounter against Alleria Windrunner after her descent into Void corruption. This is the Ahead of the Curve and Cutting Edge boss for Season 1.
What is the recommended raid composition for Voidspire?
Standard is 2 tanks, 4 healers and 14 DPS. Every fight in the Voidspire rewards positioning discipline and clean mechanic execution over raw damage output.